
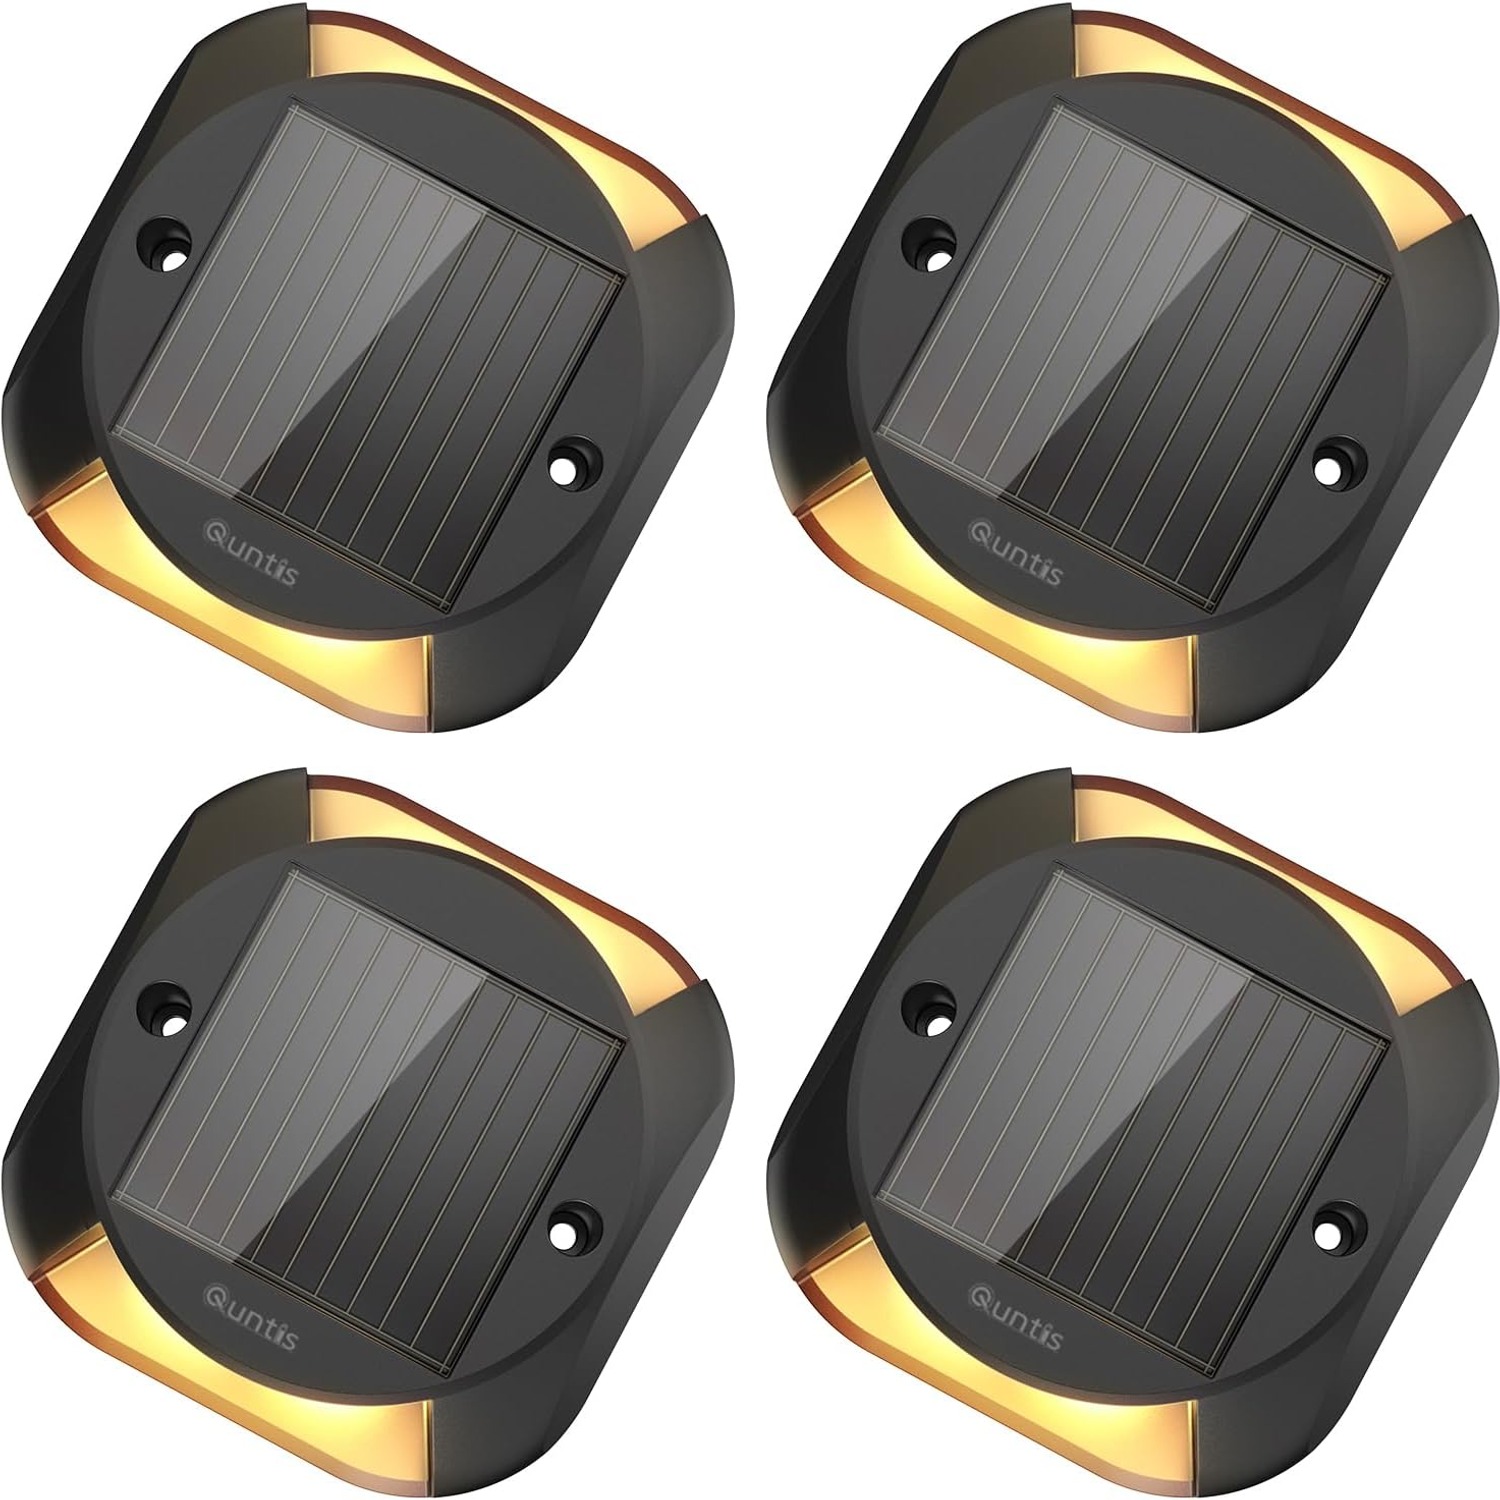
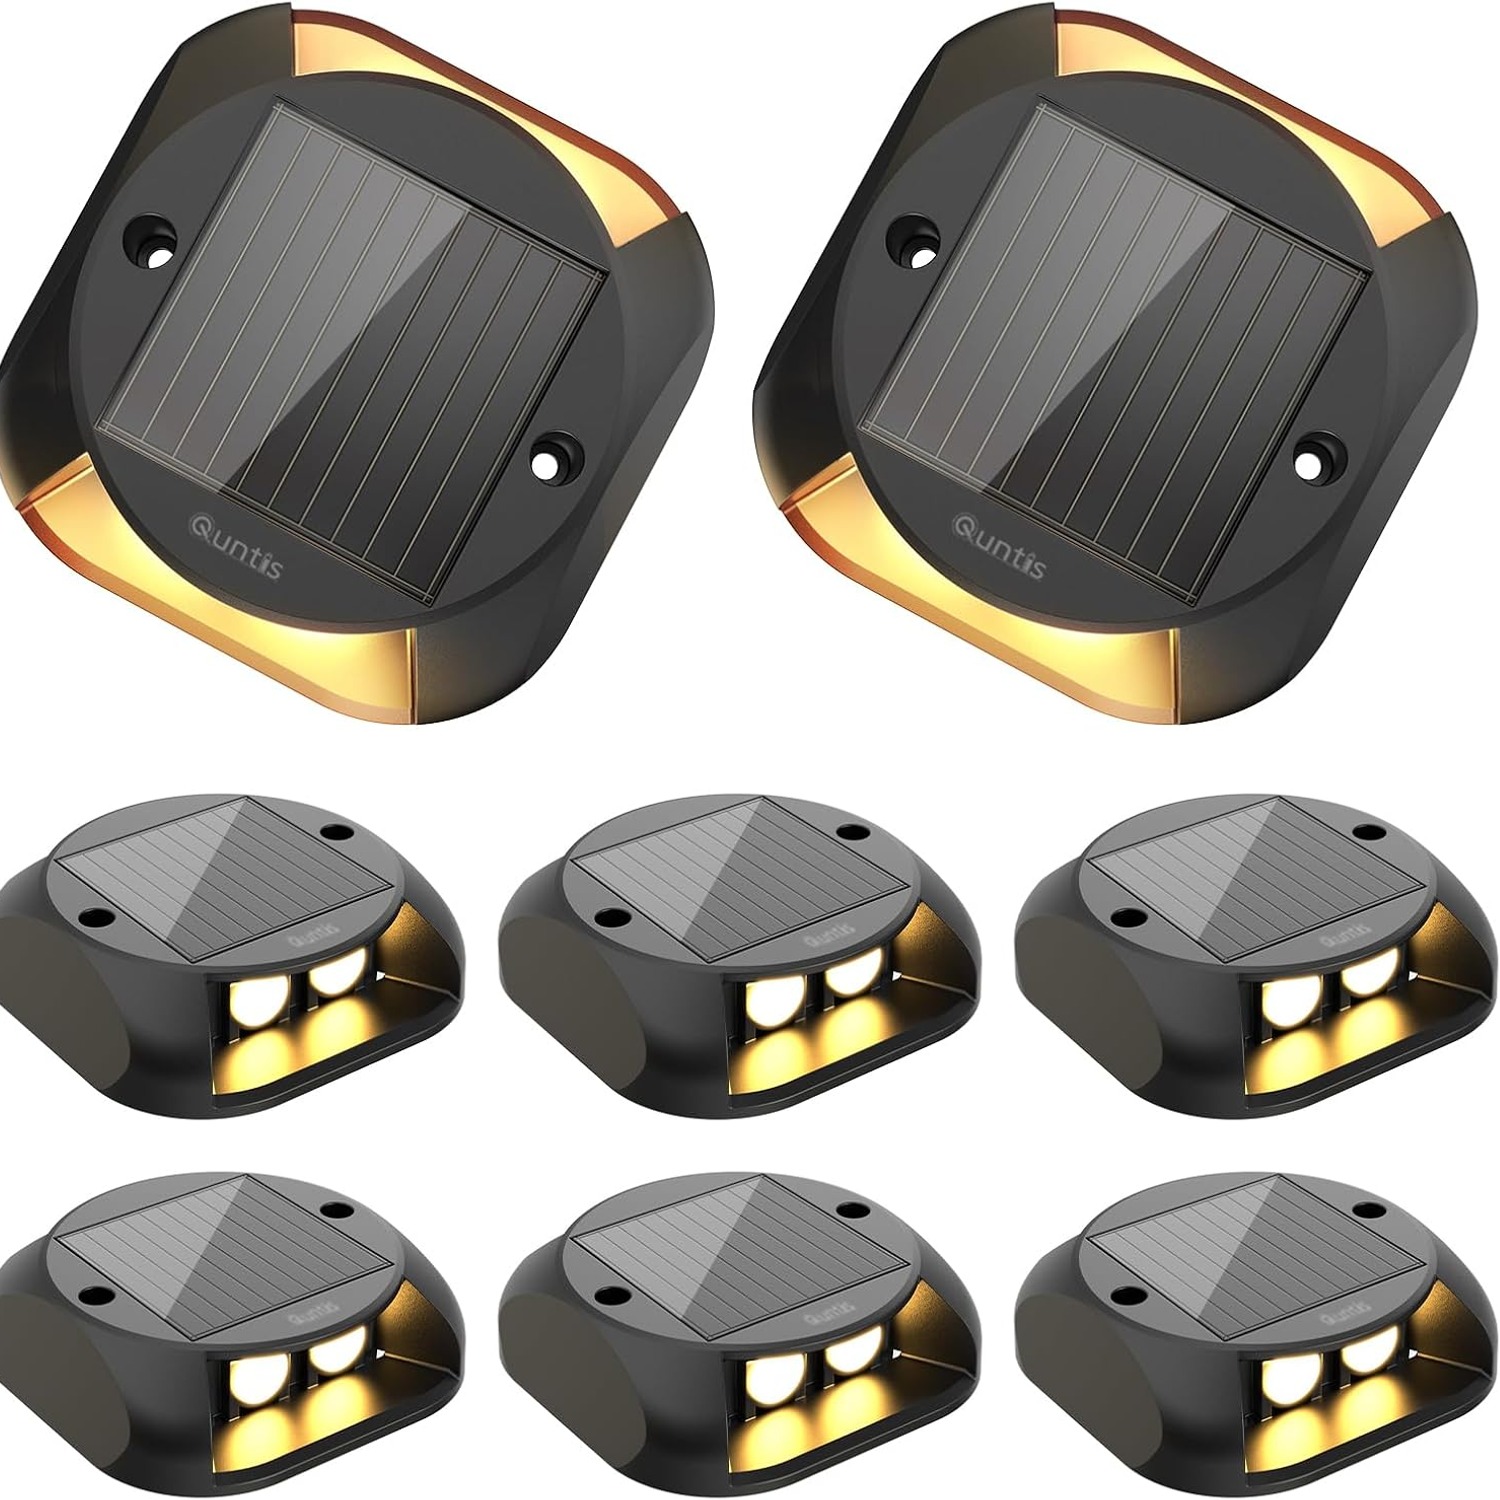
The complete guide
Solar Driveway Lights, A Practical Buyer's Guide
The problem with dark edges
Think about the last time you reversed up a drive at night, or carried shopping down a few garden steps in the rain. The trouble is almost never that it is too dark to see generally. It is that you cannot tell exactly where the edge is. The drive blends into the lawn. The top step looks the same as the flat section before it. The kerb is somewhere in that grey smudge beside the gate.
That is a marking problem, not a brightness problem. A big floodlight on the house wall makes the area bright but also throws hard shadows, which can hide the very edge you are trying to find. Small ground-level markers do the opposite. They sit on the boundary and say, quietly, here it is.
Solar driveway lights are the easiest way to solve that. There is no cable, no trench, no breaker, and no electrician. You place them, let them charge, and they run themselves.
How they actually work
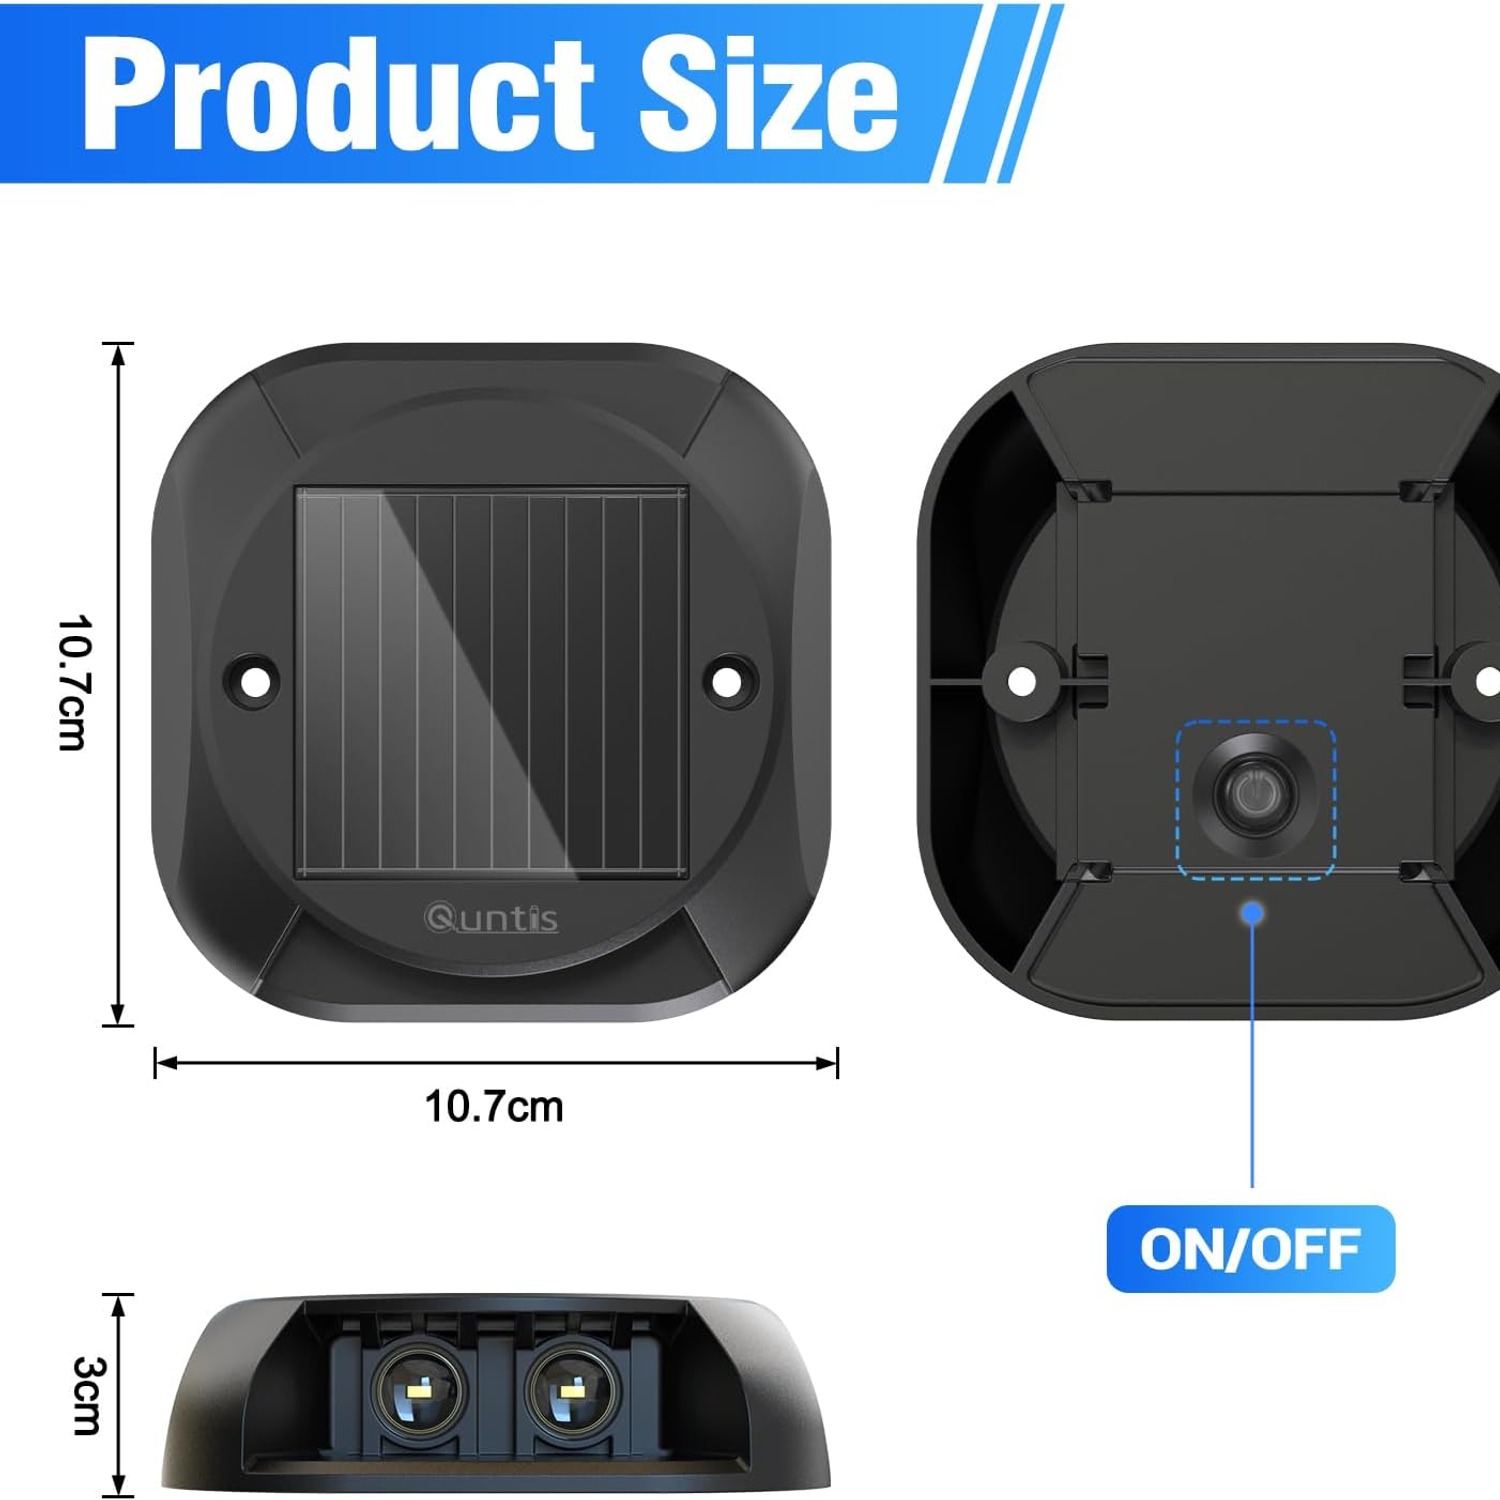
Each light in this four pack is a self-contained unit. On top sits a solar panel. Inside is a rechargeable cell and a small circuit. On the outside is a toggle switch, and somewhere on the face is a light sensor.
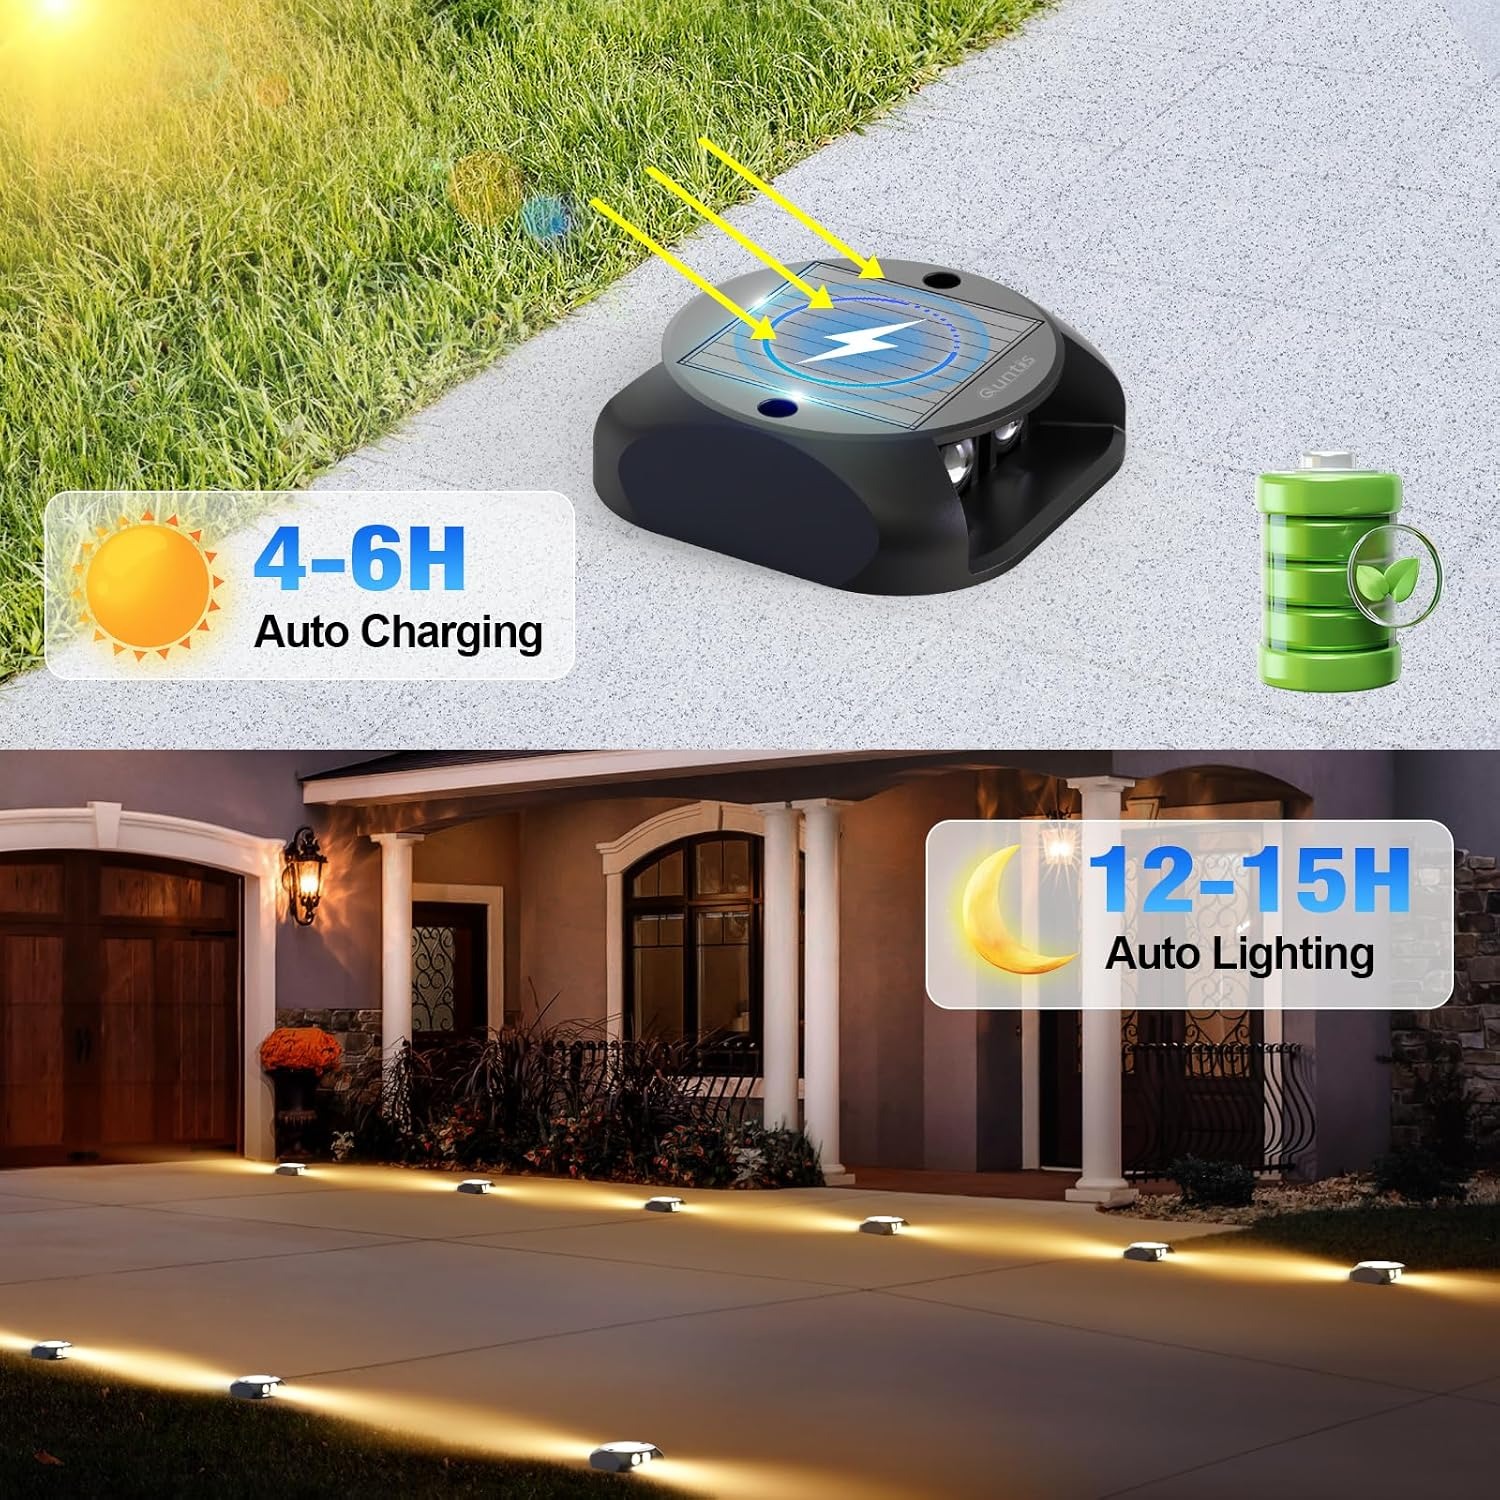
During the day the panel converts sunlight into electricity and tops up the cell. The sensor watches the ambient light level. When it falls past a threshold at dusk, the circuit switches the LEDs on and they run off the stored charge. At dawn the sensor sees daylight again, shuts the LEDs down and the cycle restarts.
The toggle switch is not a nightly on and off control. You set it to on when you install the lights and leave it there, because the sensor is what does the actual switching. The switch exists so you can isolate the unit for storage, or deliberately darken a spot.
This matters for how you place them. The panel needs direct daylight, not just ambient brightness. A light under a dense shrub or in the permanent shade of a wall will charge slowly and fade early in the evening. Give every unit as much open sky as you can, even if that means shifting it half a metre from where you first imagined it.
Why the two-way design is worth having
Plenty of solar ground markers are just a disc with LEDs behind a lens. They glow, but they tend to glow at you. Catch one at the wrong angle while walking and you lose your night vision for a few seconds, which is not helpful on steps.
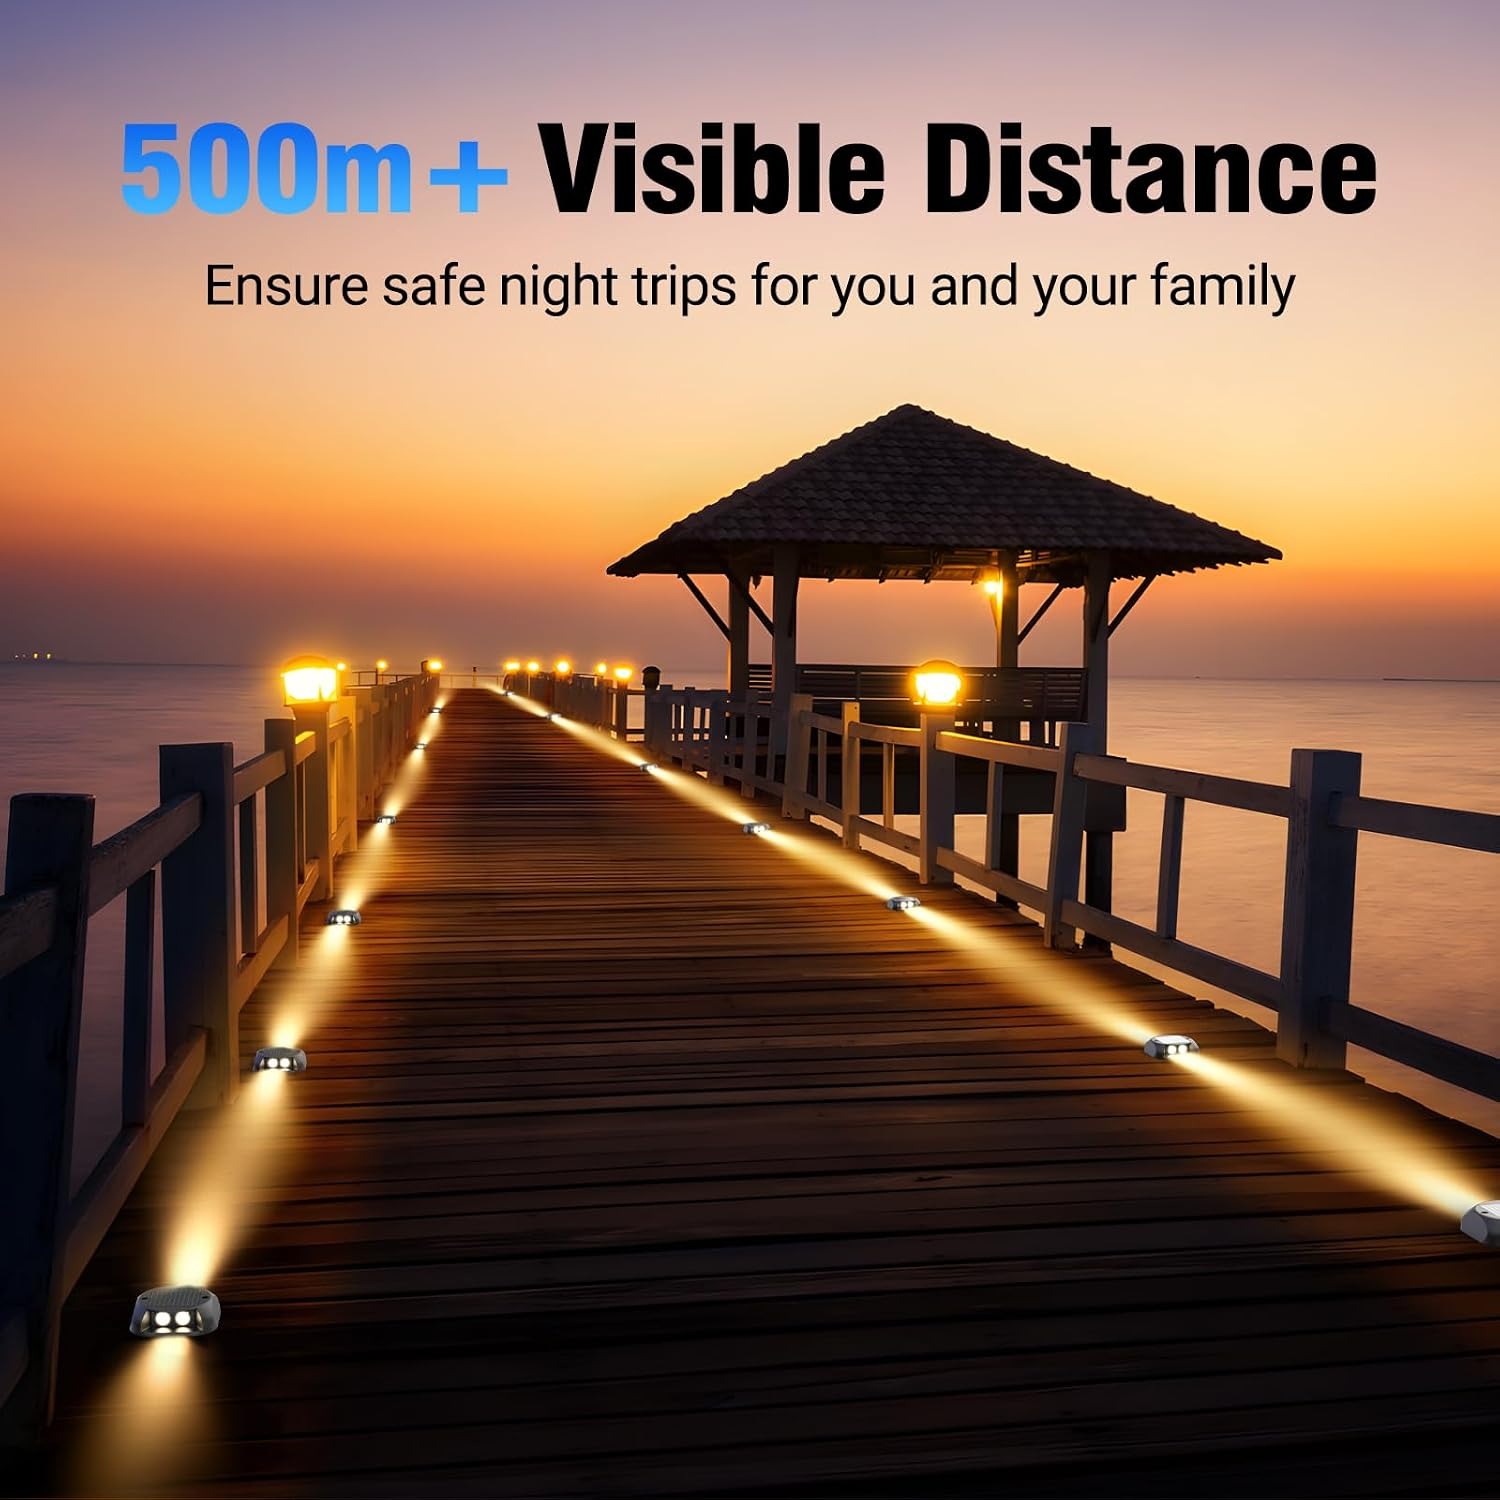
These use a two-way housing instead. The light comes out of both sides, spreading sideways along the surface rather than up into your face. You see the lit ground, you see the texture of the paving or decking, and you see the edge. The lights themselves stay in the background where they belong.
The warm white colour helps too. Cool white solar lights can look clinical and slightly blue against brick and timber. Warm white reads as softer and sits better with most outdoor materials, and it tends to look more like a considered lighting choice than a safety fitting.
Who these suit
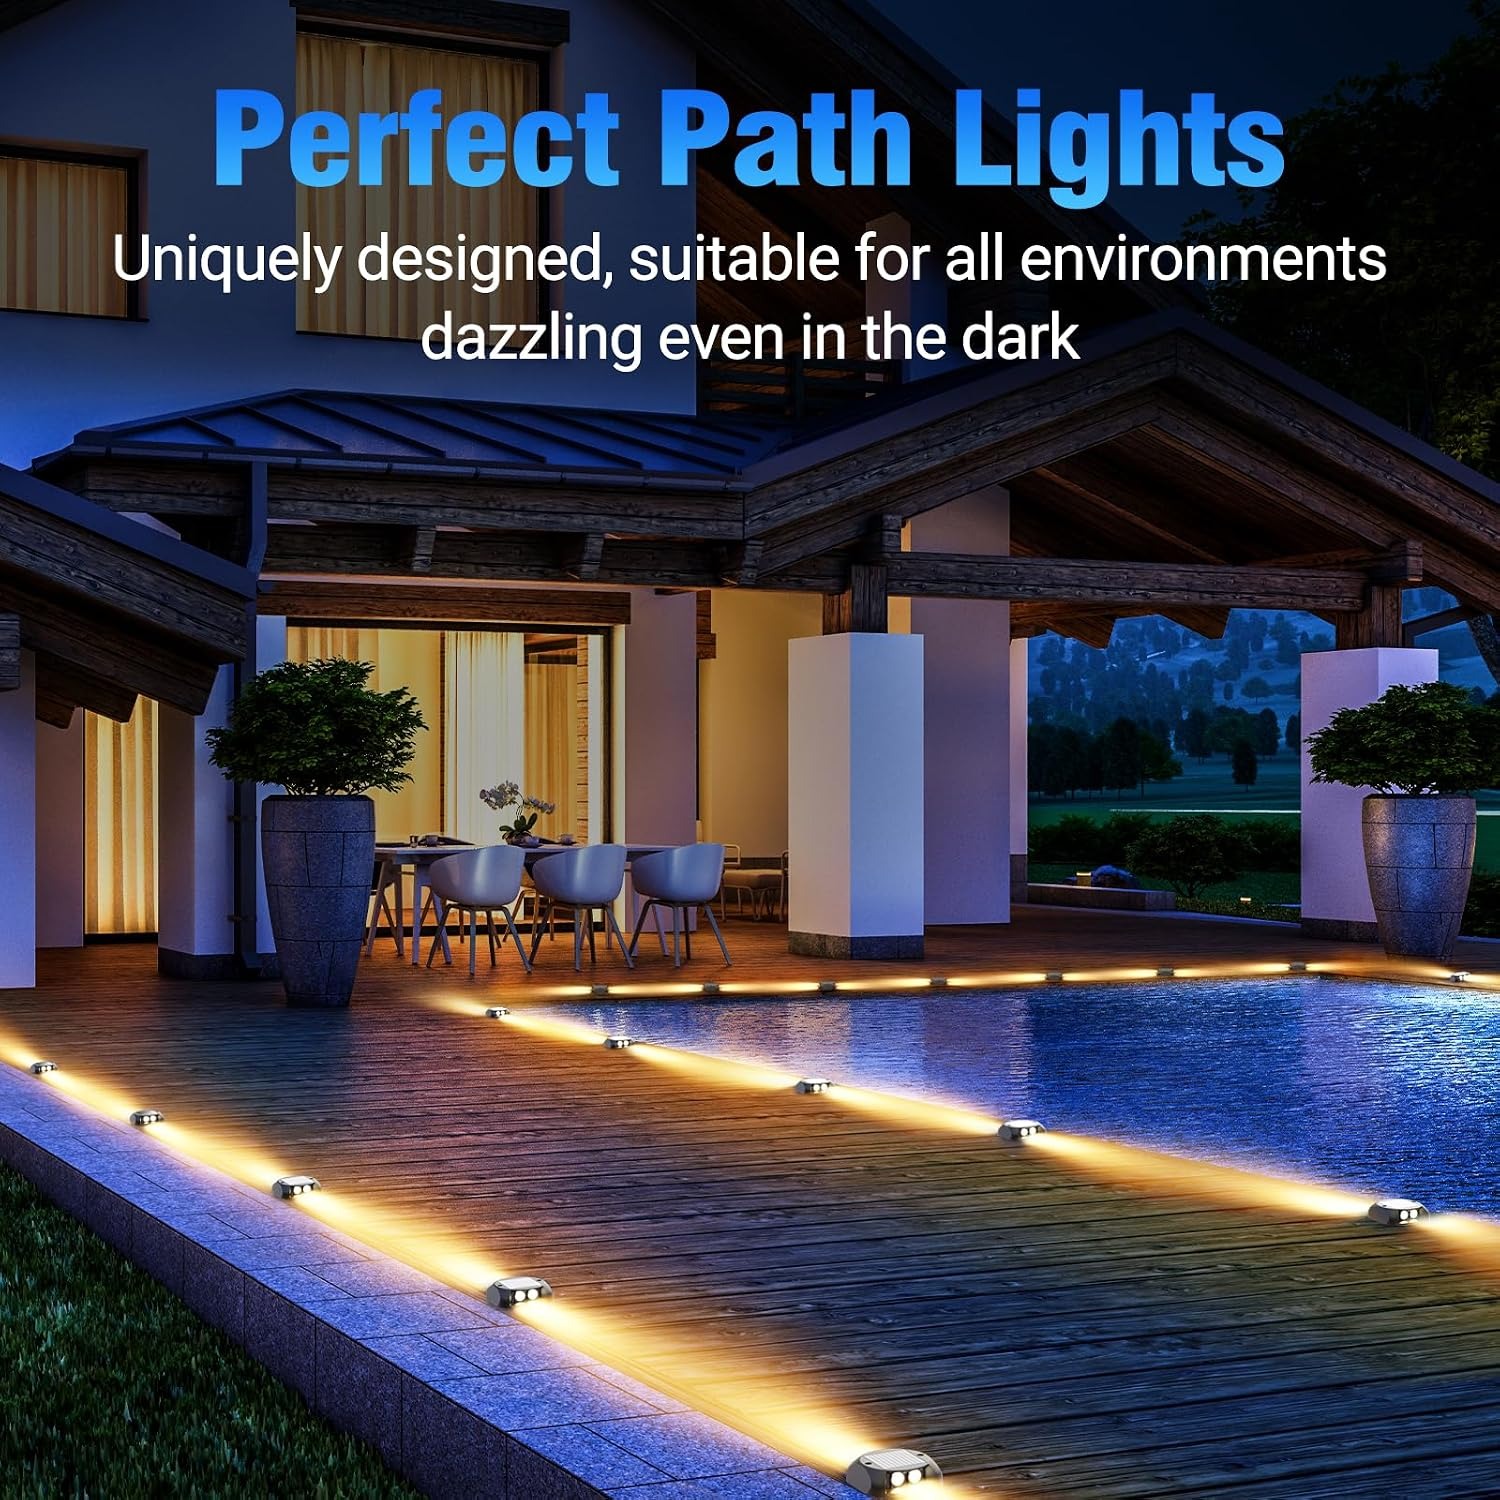
They suit anyone with a boundary that disappears at night. A driveway that meets lawn with no kerb. A deck with a step down to the garden. A path that bends behind a hedge. A dock or jetty edge. A fence line along a dark side return.
They also suit renters and anyone who does not want to commit. Because the lights are surface mounted with no assembly required, nothing is permanent in the way a wired system is. If you move, or you change the garden layout, the lights come with you.
They are less suited to someone wanting broad, bright area lighting for working outside or for a security camera. That is a different job, and a wall-mounted fitting does it better. The best solar driveway lights are edge markers by design, and trying to make them do floodlight duty will only disappoint.
How to choose and how many to buy
Start with the run you want to mark. Walk it at night with a torch and note the points where you actually feel unsure: the start of the drive, the turning point, the top and bottom of any step, the gatepost.
For a path or driveway edge, spacing of roughly one to two metres gives a clear dotted line. Tighter spacing looks deliberate and reads as a defined edge. Wider spacing can look sparse and leaves gaps where the edge is still ambiguous. A four pack covers somewhere between four and eight metres depending on how you space them, so a ten metre drive usually wants two packs.
For steps, you do not need one on every tread. One at the top, one at the bottom and one in the middle of a long flight is usually enough to show the rhythm of the stairs.
Also think about sun. Before you fix anything, check where the sun actually falls across the day. Shadows from a fence or a tree that seem minor in June can be total in December. If one part of your run is in permanent shade, consider putting more lights in the sunny section and accepting a lighter touch in the shade, rather than installing units that will never charge properly.
Materials and weather
The housings here are ABS, a tough impact-resistant plastic used across outdoor and automotive products precisely because it takes knocks and temperature swings without cracking. The listed features also include an anti-UV coating and salt-spray resistance.
Those two details are more important than they sound. Ultraviolet light is what turns cheap outdoor plastic yellow and brittle after a season or two. Salt spray is what corrodes and clouds anything near the coast. A fitting that addresses both will simply last longer in a place where lights sit outside every day of the year.
The units are listed as water resistant, which is what you want for rain, dew and hose spray. We would still avoid any spot where water pools and sits for days, since standing water is harder on a seal than falling rain.
Each unit is 11.5 by 11.5 by 13 centimetres, which is compact enough to sit against a step riser or deck board without looking like equipment. The whole pack weighs 610 grams.
Installing and looking after them
Installation is the easy part. The lights are surface mounted, so you are fixing them to a flat face: a deck board, a step riser, a path edge, a kerb, a fence rail. There is no digging and no assembly. Follow the method in the included instruction manual for whatever fixings come with your pack.
Two tips make a real difference. First, make sure the toggle switch is on and give the lights a full day of sun before you expect a good first night. Solar cells arrive partly charged at best. Second, clean the panels. A thin film of dust, pollen or salt cuts charging more than most people expect, and a dim solar light is far more often a dirty panel than a dead battery.
Beyond that, care is simple. Wipe the panel with a damp cloth when it looks grubby, rinse the body with plain water, dry it off, and keep grass and branches from growing over the top. Skip solvents and abrasive pads, which will dull and scratch the plastic.
Over several years, rechargeable cells lose capacity, and the first sign is shorter runtimes rather than a sudden failure. Whether the cell in this particular model can be replaced is not stated in the product record, so check the manual before opening a housing.
The short version
If the edges of your drive, path or deck vanish after dark, a set of ground-level markers solves it faster and cheaper than anything wired. This four pack gives you warm white, two-way light from a tough ABS housing, with an automatic dusk sensor so there is nothing to switch and nothing to remember.
Place them where they get real sun, space them about one to two metres apart, charge them for a day before you judge them, and keep the panels clean. Do that and they will quietly do their job every night, which is exactly what you want from outdoor lighting you never have to think about.